Why Does Ramp Length Increase With Total Rise? A Few Basics
The ramp length increases with the total rise because of a simple geometric principle. This ensures your ramp maintains a safe and manageable slope. Think of it like this: the higher you need to go, the longer the ramp must be to keep the climb gradual. Our guide can help you calculate wheelchair ramp length based on rise.
This basic relationship is fundamental to accessibility design. Whether for wheelchairs, strollers, or just easier walking, a gentler slope is key. You’ll notice this applies everywhere, from building codes to DIY projects.
- Ramp length increases with total rise.
- This keeps the slope safe and manageable.
- Steeper rises need longer ramps.
- It’s a basic rule for accessibility.
Let’s walk through why this happens and what it means for your project.
“`htmlUnderstanding Ramp Length and Rise: The Basic Geometry
The connection between how high you need a ramp to go (the total rise) and how long that ramp needs to be is all about keeping things safe and easy to use. Think of it like building a slide for kids. A super tall slide needs a long, gentle slope to get down safely. A short slide can be steeper because you’re not going very high.
This is the same principle for ramps. When you need to gain more height, you need more length to maintain a comfortable and safe incline. This is a fundamental concept in building ramps for accessibility.
What Do We Mean by “Rise” and “Run”?
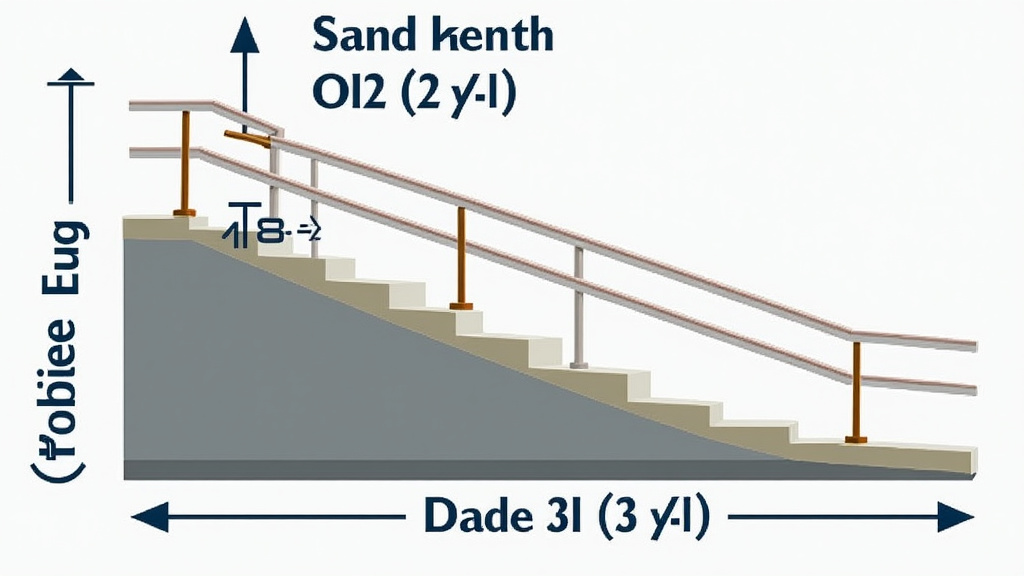
Before we go further, let’s define our terms. The total rise is simply the vertical distance the ramp needs to cover. If you’re going from a ground-level sidewalk up to a porch that’s 12 inches higher, your total rise is 12 inches.
The run is the horizontal distance the ramp covers. It’s how far the ramp extends out onto the ground or surface. The longer the run, the flatter the ramp will be.
The Importance of Slope: Keeping it Gradual
The key to a functional ramp is its slope. Slope tells us how steep the ramp is. A steeper slope means you have to climb more steeply. A gentler slope means an easier climb.
For accessibility, especially for wheelchair users or people with mobility challenges, a gentler slope is critically important. It reduces the effort needed to ascend the ramp and increases safety for descending.
Many guidelines exist to ensure ramps are usable. For instance, the Americans with Disabilities Act (ADA) has specific recommendations for maximum slopes. They aim to make ramps accessible to the widest range of users.
ADA Slope Recommendations
The ADA suggests that for every inch of vertical rise, the ramp should have at least 12 inches of horizontal run. This creates a 1:12 slope ratio. This is a widely accepted standard for accessible ramps.
This 1:12 ratio means that for a 12-inch rise (like going up one step), you need a minimum of 144 inches (12 feet) of ramp run. This might sound like a lot of space, but it’s what’s needed for a safe and usable incline.
Some situations might allow for a slightly steeper slope, like a 1:8 ratio, but this is usually only for very short rises, perhaps an inch or two. Always check local building codes and ADA guidelines for the most accurate information for your specific project.
Why the Longer Ramp for Higher Rises?
Imagine you need to get to a second-floor window. You can’t just build a straight ladder to it; that would be too steep and dangerous. You need a series of steps or a long, winding path.
Ramps work on the same principle. If your total rise is small, say 6 inches, you can achieve a 1:12 slope with just 72 inches (6 feet) of run. That’s a relatively short ramp.
But if your total rise is 36 inches (like getting up to a standard deck), you’d need 36 inches x 12 = 432 inches of run. That’s 36 feet! That’s a significantly longer ramp.
So, as your total rise gets bigger, the required run naturally increases to maintain that safe, gradual slope. It’s a direct mathematical relationship.
The Role of Building Codes and Standards
Building codes and accessibility standards are in place to ensure safety and usability. They are based on research and real-world testing. These codes aim to prevent situations where ramps are too steep to be navigated by the intended users.
When you’re planning a ramp, consulting these standards is highly recommended. They provide clear guidelines on slope, width, handrails, and landings. These details are vital for a functional and safe ramp.
For example, you might need intermediate landings if your ramp becomes too long. These are flat platforms that give users a place to rest and change direction. They are part of the design considerations driven by the total rise and required run.
Putting it into Practice: Planning Your Ramp
When you’re considering a ramp project, the first thing you need to determine is your total rise. Measure the vertical distance from your lower surface to your higher surface accurately.
Once you have the total rise, you can calculate the minimum required run. Using the common 1:12 ratio, multiply your total rise (in inches) by 12. This will give you the minimum horizontal distance your ramp needs to cover.
Let’s look at a quick comparison:
| Total Rise (inches) | Minimum Run (1:12 slope) | Approximate Ramp Length (feet) |
|---|---|---|
| 6 | 72 inches | 6 feet |
| 12 | 144 inches | 12 feet |
| 18 | 216 inches | 18 feet |
| 24 | 288 inches | 24 feet |
| 36 | 432 inches | 36 feet |
As you can see, the ramp length increases dramatically with even moderate increases in total rise. This table is a simple illustration based on the 1:12 rule. Your specific situation might have other requirements.
Considering Your Space
The biggest challenge with longer ramps is often space. A ramp that needs 36 feet of run might not fit into your yard or on your property. This is where creative design solutions come in.
For example, a switchback ramp, which changes direction with landings, can help fit a long ramp into a smaller footprint. These are common on steeper inclines where a straight ramp would be impossible.
Always measure your available space carefully. You need to ensure you have enough room not just for the ramp itself, but also for clear maneuvering at the top and bottom, and for any required landings.
It’s All About Accessibility and Safety
The fundamental reason why ramp length must increase with total rise is to ensure accessibility and safety. A ramp that is too steep is not just difficult to use; it can be dangerous.
Imagine trying to push a wheelchair up a very steep ramp. It requires significant strength and can be exhausting. Likewise, going down a steep ramp can be terrifying and hard to control.
By adhering to established slope ratios, we create ramps that are manageable for most users, including those with mobility aids. This principle is at the heart of inclusive design.
Many studies highlight the importance of appropriate slope for user independence and safety (CDC). When a ramp is built correctly, it opens up possibilities for people to access homes and public spaces with greater ease.
So, while it might seem like a simple measurement, the relationship between ramp length and total rise is a carefully considered aspect of design. It’s all about making sure everyone can get where they need to go, safely and comfortably.
Key Takeaways for Your Ramp Project
As you plan your ramp, keep these points in mind:
- Always measure your total rise accurately.
- Understand the recommended slope ratios (like 1:12).
- Calculate the minimum required run for your rise.
- Assess your available space to see if the run will fit.
- Consider design options like switchbacks if space is limited.
- Consult local building codes and accessibility guidelines.
Conclusion
You’ve learned that a ramp’s length is directly tied to its total rise because of basic geometry. This relationship ensures your ramp maintains a safe and comfortable slope, making it accessible for everyone. When planning your own ramp, remember to accurately measure your total rise and calculate the needed run. Always consult local codes and guidelines for the best results.
Your next step should be to precisely measure the vertical distance you need to cover. Then, use that measurement with the standard 1:12 slope ratio to determine your minimum ramp run. This will give you a clear idea of the space you’ll need for a safe and usable ramp project.
Frequently Asked Questions
What is the most common ramp slope ratio recommended?
The most commonly recommended slope ratio for accessibility is 1:12. This means for every inch of vertical rise, you need at least 12 inches of horizontal run. Research and accessibility standards have found this ratio offers a good balance for most users.
Can I build a steeper ramp if I have limited space?
While some situations might allow for a slightly steeper slope, like 1:8, it’s generally only for very short rises. Steeper slopes significantly increase the effort required and can be dangerous, especially for wheelchair users. It’s best to consult building codes for any exceptions.
What happens if my required ramp run is too long for my property?
If your calculated ramp run exceeds your available space, you might need to consider alternative designs. A switchback ramp, which uses intermediate landings to change direction, can help fit a long ramp into a smaller area. These designs are common when a straight ramp isn’t feasible.
How do I accurately measure the “total rise” for my ramp?
To measure the total rise, use a level or tape measure to find the exact vertical distance from the surface you are starting on to the surface you need to reach. Ensure you are measuring the straight up-and-down height, not along any existing incline.
Are there other factors besides slope that make a ramp safe and usable?
Yes, absolutely. Beyond slope, ramp width, the presence and placement of handrails, and adequate landing areas at the top and bottom are vital for safety and usability. Building codes often specify requirements for all these elements to ensure accessibility.