What Is a Switchback Wheelchair Ramp? The Full Picture
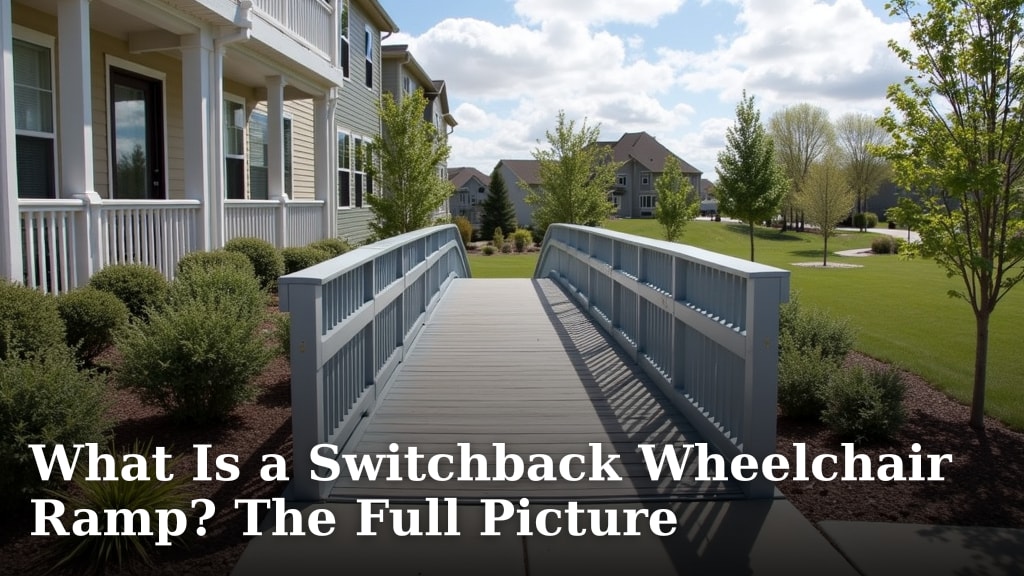
A switchback wheelchair ramp is a ramp that makes two turns as it goes up, like a Z shape on its side. It is a smart way to reach a higher door when you do not have enough straight space for one long ramp. The zig-zag design saves a lot of horizontal room.
This type of ramp uses a landings or platforms at each turn. These landings give the user a safe place to rest and maneuver. Many builders say this design is often needed to meet building codes for steep entryways.
- A switchback ramp has a distinctive Z or zig-zag shape.
- It uses landings to change direction, saving horizontal space.
- This design often helps meet safety codes for steep slopes.
- It is a great solution for decks, raised porches, or split-level homes.
- Proper width and handrails are key for safe use.
Below, we break down everything you need to know about planning and building a switchback ramp. We’ll cover the key measurements, materials, and safety tips to consider.
A Clear Definition of the Switchback Ramp Design
A switchback wheelchair ramp is an accessible pathway that uses a Z-shaped configuration with level landings to navigate a height change when straight-line space is limited. It’s the architectural equivalent of a mountain switchback trail. Instead of going straight up a steep hill, you take a longer, safer route that zig-zags. This design allows you to gain elevation gradually while fitting within a smaller backyard or entryway footprint.
Imagine you need to get from your driveway up to a raised porch. A straight ramp long enough to be safe might stretch all the way to the street. That’s not practical. A switchback ramp solves this by breaking the climb into two or more shallower sections, connected by turning platforms.
Why You Might Need a Switchback Ramp
You might be wondering if a switchback design is right for your situation. It’s a common solution for several everyday challenges. The primary reason is limited horizontal space. If your yard is narrow or your entryway faces a tight space, a straight run simply won’t fit.
It’s also essential when meeting building code requirements. Most local codes, based on the Americans with Disabilities Act (ADA) guidelines, require a specific maximum slope for wheelchair ramps. A common standard is a 1:12 ratio, meaning for every inch of rise, you need 12 inches of ramp length. For a 30-inch porch, you’d need a 30-foot straight ramp. That’s a huge amount of space. A switchback allows you to achieve that same gentle slope within a smaller area by doubling back. For more on the 1:12 ratio, see our wheelchair ramp slope chart guide.
- Steep Entryways: When your door is only a few feet off the ground but your yard is deep.
- Split-Level Homes: To connect different ground levels around the house.
- Deck or Porch Access: Providing a safe path to an outdoor living space.
- Space-Constrained Lots: Where a long, straight ramp would block walkways or driveways.
Key Measurements and Slope Ratios
Planning a switchback ramp starts with math. Don’t worry, it’s straightforward. The two most critical numbers are the total vertical rise and the required ramp length. Measure the distance from the ground to the top of your door threshold or landing. That’s your rise.
Using the standard 1:12 slope, multiply your rise in inches by 12. This gives you the total linear feet of ramp surface needed. For example, a 24-inch rise requires 24 feet of ramp run. Your switchback design will split this total length between two or three sections, with landings in between.
Landings and Turn Platforms
Landings are non-negotiable for safety and usability. They are the flat, level areas where the ramp changes direction. The ADA recommends a minimum landing size of 5 feet by 5 feet for a switchback. This gives a wheelchair user enough room to pause, rest, and maneuver the turn safely. Think of it as a small parking spot on the ramp trail.
Section Breakdown Example
Let’s say your total required ramp length is 20 feet. You could design it like this:
- First Run: 10 feet long, going up one direction.
- First Landing: A 5×5 foot platform.
- Second Run: 10 feet long, going back the opposite direction to reach the top.
This keeps each individual section at a manageable slope while fitting neatly into a rectangular space.
Materials: Choosing the Right Build
The materials for your switchback ramp depend on your budget, climate, and DIY skill level. We found that most ramps are built from pressure-treated wood, composite decking, or modular aluminum. Each has its pros and cons.
| Material | Pros | Cons |
|---|---|---|
| Pressure-Treated Wood | Most affordable, easy to customize. | Requires regular staining/sealing, can become slippery when wet, may splinter. |
| Composite Decking | Low maintenance, splinter-free, good traction. | Higher upfront cost, can get hot in direct sun. |
| Modular Aluminum | Extremely durable, slip-resistant, weather-proof, lightweight. | Most expensive option, can look industrial. |
Many experts we consulted note that surface traction is paramount. A wet, slippery ramp is dangerous. Whatever material you choose, ensure the surface has a non-slip finish.
Safety Features You Must Include
A ramp isn’t just a sloped board. It’s a system with critical safety components. Forgetting one can make the ramp unusable or even hazardous.
- Handrails: Required on both sides for ramps with a rise greater than 6 inches. They should be between 34 and 38 inches high.
- Edge Protection: A curb or rail along the ramp edges prevents wheelchair casters from slipping off.
- Non-Slip Surface: As mentioned, this is essential for all weather conditions.
- Sufficient Width: The clear width between handrails should be at least 36 inches to accommodate most wheelchairs.
According to CDC data, falls are a leading cause of injury. Ensuring these features are correctly installed can significantly reduce that risk for ramp users.
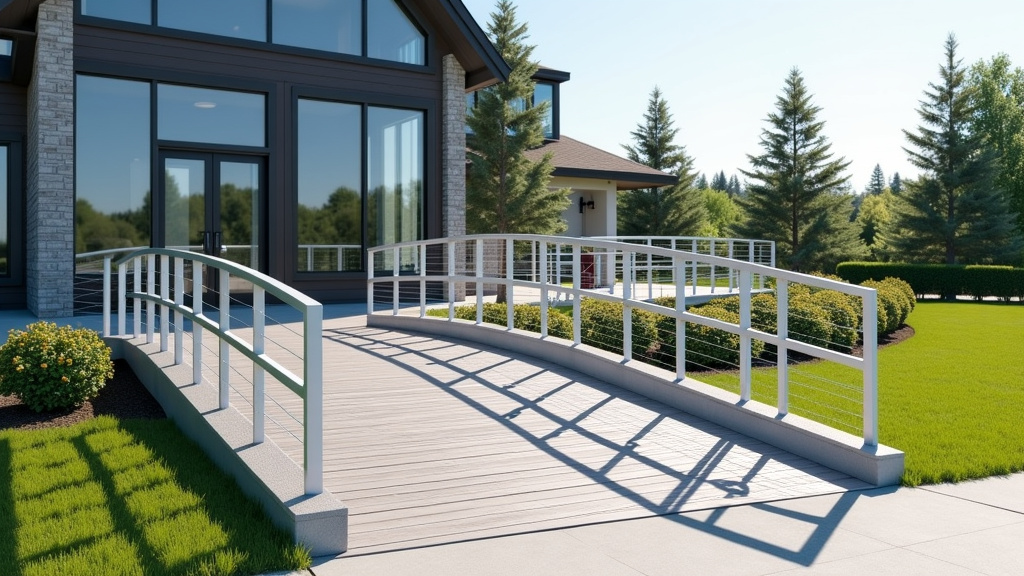
Building Codes and Permits: The Non-Negotiable Step
Before you buy a single piece of lumber, call your local building department. Seriously. Building codes vary by city and county. You will almost certainly need a building permit for a permanent ramp. An inspector will want to ensure it meets the required slope, width, and railing codes.
This isn’t just red tape; it’s your safety net. A permit process means a professional has reviewed your plans. It also protects you if you ever sell your home, as it proves the structure is safe and compliant.
DIY vs. Hiring a Professional
Building a switchback ramp is a popular weekend project for experienced DIYers. However, it requires precise measurements, carpentry skills, and a solid understanding of local codes. If your ramp involves a significant height change or complex turns, hiring a contractor who specializes in accessibility is wise.
A professional will handle the permit process, ensure exact code compliance, and guarantee the structure is secure. The cost is higher, but the peace of mind is invaluable. We found that errors in slope or landing size from DIY builds often require expensive corrections.
Planning Your Switchback Ramp Project: A Step-by-Step Checklist
Feeling ready to move forward? Here’s a concise list to guide your planning phase.
- ☐ Measure the total rise from the ground to your threshold.
- ☐ Sketch a simple layout showing the ramp runs and landings in your yard.
- ☐ Check local building codes and apply for necessary permits.
- ☐ Choose your materials based on budget, climate, and maintenance preference.
- ☐ Decide on DIY or professional installation based on project complexity.
Take your time with this list. Good planning is the most important part of the build.
Maintenance for a Long-Lasting Ramp
Once built, your ramp needs simple care. For wood ramps, regular sealing or staining every 2-3 years prevents rot and splintering. For all types, keep the surface clear of leaves, snow, and ice. A quick sweep and occasional power wash will keep it safe.
Inspect it annually. Check for any loose boards, wobbly railings, or cracks. Tighten bolts as needed. A little maintenance goes a long way in ensuring your ramp provides safe access for years to come. It’s an investment in your home’s accessibility and your peace of mind.
Conclusion
A switchback wheelchair ramp is an excellent solution for overcoming height differences when straight-line space is limited. Its **Z-shaped design with landings** provides a safe, code-compliant path to your door. Planning is everything. You must calculate the slope, choose durable materials, and include all required safety features. Always check with your **local building department for permits** before you start. Whether you tackle this as a DIY project or hire a professional, careful preparation ensures a ramp that is both safe and built to last.
Your next step is straightforward: measure the rise to your door and sketch a basic layout. This simple action moves you from planning to creating a permanent, accessible entry to your home.
Frequently Asked Questions
How much does a switchback ramp typically cost compared to a straight ramp?
Costs vary significantly by materials and labor. Generally, a switchback ramp will cost more than a simple straight ramp of the same length due to the additional **materials for landings and turns**. The primary value is providing accessibility in space where a straight ramp is impossible. Getting multiple quotes is the best way to compare.
Can I build a switchback ramp myself, or should I hire a contractor?
An experienced DIYer with carpentry skills can build a ramp, but it requires precise math and code knowledge. If your project involves significant height or complex turns, **hiring a professional is recommended**. They ensure perfect slope, secure construction, and handle the permit process for you.
What is the most important material choice for a ramp in a rainy climate?
For wet climates, prioritize **traction and water resistance**. Composite decking or modular aluminum are excellent choices as they don’t rot and provide a consistent non-slip surface. If you use wood, you must select a non-slip coating and plan for regular maintenance to keep it safe.
How often does a wheelchair ramp need to be inspected or maintained?
You should perform a **visual inspection every season**. Check for loose bolts, splintering wood, or any instability in railings. A deeper maintenance check, like cleaning and tightening hardware, is recommended at least twice a year to ensure everything remains secure.
Is a switchback ramp only for wheelchair users?
Not at all. These ramps are vital for **anyone who benefits from gradual, step-free access**. This includes people using walkers, scooters, or strollers, as well as those moving heavy items. The design provides safe, convenient passage for all residents and visitors.