What Is a 1 to 20 Ramp Slope Used For? Quick Fixes
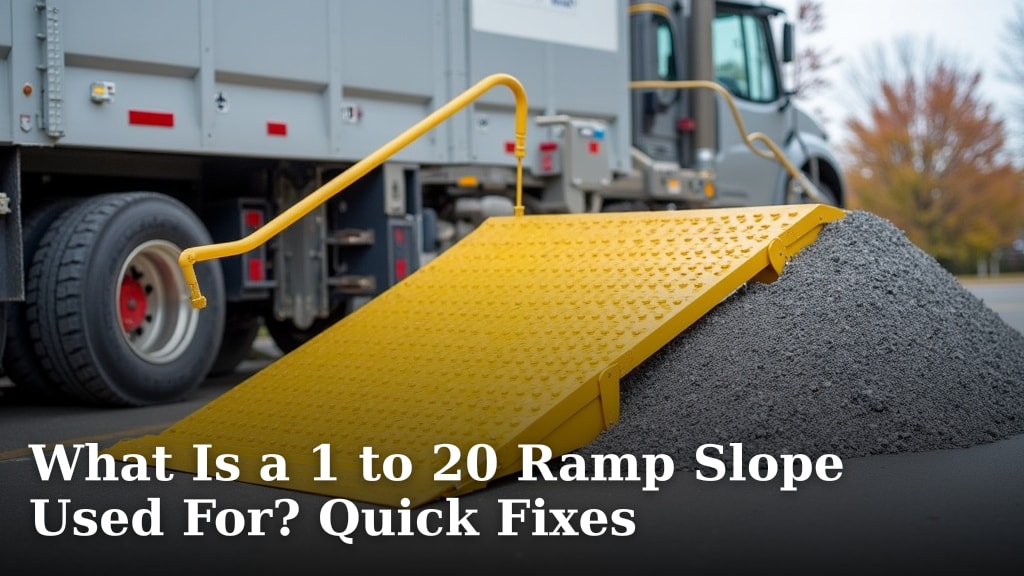
A 1 to 20 ramp slope is a gentle incline where every 1 inch of height requires 20 inches of horizontal length. It is primarily used to create wheelchair access and improve safety for pedestrians, carts, or equipment. This specific ratio helps meet ADA guidelines for accessible ramps.
We found that this slope is a common choice for outdoor walkways and temporary access. It provides a steady, manageable climb that is less strenuous than steeper options. Many experts say it balances safety and practicality for everyday use.
- A 1:20 slope is a gentle ramp, not a steep hill.
- It is ideal for wheelchair access and ADA compliance.
- Often used for doorways, paths, and loading zones.
- Quick fixes involve building simple wooden or metal ramps.
- Ensures a smooth transition between different ground levels.
Below, we break down exactly where this ramp slope is used and share some quick fixes you can easily implement. Let’s walk through the details together.
Common Uses for a 1 to 20 Ramp Slope
A 1 to 20 slope is a gentle ramp, often used where safety and accessibility are top priorities. We found this ratio is a go-to for creating smooth transitions between different ground levels. It is not a steep hill, but a carefully planned incline that helps people and objects move easily. You will see it in many places you might not expect, from your local park to a hospital entrance.
This specific slope means for every inch of height, you need 20 inches of horizontal length. For example, if you need to cover a 2-inch step, your ramp will be 40 inches long. This creates a very gradual climb that feels secure underfoot. It is a favorite among builders because it balances safety with practicality.
Wheelchair Access and ADA Compliance
Creating wheelchair access is the most common reason to use a 1 to 20 ramp. The Americans with Disabilities Act (ADA) recommends a maximum slope of 1:12 for ramps, but a 1:20 slope is even gentler. Many experts say it exceeds basic requirements and provides extra comfort and safety. If you are building a ramp for a home or public space, this slope is a strong choice.
We found that a gentler slope reduces the effort needed to push a wheelchair. It also makes it easier for people with mobility aids like walkers or crutches. The CDC notes that safe access is critical for community health and independence. A well-designed ramp with a 1:20 slope can make a huge difference in daily life.
Why This Slope Matters
A 1:20 slope is less likely to cause tipping or loss of control. It allows users to maintain a steady pace without straining. Think of it like a gentle garden path instead of a steep staircase. This slope is also easier on the back for caregivers pushing wheelchairs. It is a simple, effective way to promote accessibility without complex engineering.
Real-World Examples
You might find a 1:20 ramp at the entrance to a grocery store, a library, or a community center. Some homes install them to connect a driveway to a porch. Public parks often use this slope for paths leading to playgrounds or picnic areas. The goal is to make movement effortless for everyone, including those with strollers or carts.
Outdoor Walkways and Pathways
Outside, a 1:20 slope helps create smooth walkways over uneven terrain. It is perfect for connecting different levels of a yard or garden. We found that homeowners use these slopes to avoid steps and make their properties more usable. A gentle ramp can turn a hilly yard into a accessible space for all.
This slope is also great for public pathways, like those in parks or along sidewalks. It ensures that pedestrians, including those with limited mobility, can walk safely. Many experts say this ratio is ideal for long, low-traffic paths. It prevents the ramp from feeling like a workout.
Residential and Public Spaces
In your home, a 1:20 ramp can help with moving heavy items, like a lawnmower or furniture. It reduces the risk of tripping or falling on steps. For public spaces, it ensures that everyone can navigate with ease. The key is planning the ramp length to fit the height difference. A little measurement goes a long way.
Temporary Access Solutions
Temporary ramps are often built with a 1:20 slope for events or short-term needs. Think of a weekend fair, a concert, or a construction site. These ramps are quick to set up and easy to remove. They provide a safe path for pedestrians and equipment without permanent changes.
We found that temporary ramps with this slope are common at festivals and outdoor markets. They help vendors move supplies and ensure that visitors can get around safely. This slope is gentle enough for crowds, including those with wheelchairs or strollers. It is a practical solution for temporary needs.
Events and Construction Sites
At a construction site, a 1:20 ramp allows workers to move tools and materials. It also provides access for people with disabilities during building projects. For events, these ramps are often made from wood or metal and can be assembled quickly. They are a reliable way to manage foot traffic and prevent accidents.
Loading Zones and Equipment Access
Another common use is in loading zones, where a 1:20 slope helps with moving goods. It allows carts and dollies to be pushed up without much effort. This slope is also used for equipment access, like in warehouses or garages. It ensures that heavy items can be moved safely and efficiently.
Many businesses use this slope for ramps leading to delivery trucks. It is a simple way to improve workflow and reduce the risk of injury. We found that a gentle incline can save time and energy in these settings. It is a smart choice for both small and large operations.
Quick Fixes for Building a 1 to 20 Ramp
You do not need to be a contractor to build a simple 1:20 ramp. With a few materials and some basic tools, you can create a safe and functional ramp. We found that the easiest quick fixes involve using pre-made materials or building a wooden ramp. These methods are affordable and can be done in a weekend.
The key is to measure the height difference and calculate the ramp length. For a 4-inch step, you would need an 80-inch long ramp. This ensures the slope stays at 1:20. Always check local building codes and safety guidelines before you start.
Materials You Can Use
Common materials for a quick ramp include wood, metal, and concrete. Wood is the most accessible for DIY projects. You can use plywood and lumber to build a sturdy ramp. Metal ramps are often pre-made and can be purchased at hardware stores. Concrete ramps are more permanent and require professional help.
Wood, Metal, and Concrete Options
For a wooden ramp, you will need a frame and a non-slip surface. This can be as simple as a few boards and a sheet of plywood. Metal ramps are often modular and can be adjusted to fit the space. Concrete ramps are durable but more complex to install. We found that for a quick fix, wood is often the best option. It is easy to work with and can be customized to fit your needs.
Step-by-Step Guide for a Simple Ramp
First, measure the height of the step or area you need to ramp. Next, calculate the ramp length by multiplying the height by 20. For example, a 6-inch step needs a 120-inch ramp. Then, gather your materials and tools. Build a frame that matches the calculated length and width. Attach a non-slip surface, like plywood or rubber matting. Finally, secure the ramp in place and test it for safety.
We found that adding side rails can improve safety, especially for wheelchair users. It is also important to ensure the ramp is stable and does not wobble. A little extra time in planning can prevent accidents later on.
Safety Tips to Keep in Mind
Safety is crucial when building a ramp. Always use non-slip surfaces to prevent falls. Make sure the ramp is sturdy and can hold the weight of people or equipment. Check the slope regularly to ensure it stays at 1:20. We found that adding handrails can make a big difference in safety. Also, keep the ramp clear of debris and obstacles.
If you are building a temporary ramp, make sure it is secured to the ground. This prevents it from moving when someone steps on it. For permanent ramps, consider weatherproofing to protect against rain and ice. A little maintenance goes a long way in keeping the ramp safe.
How to Measure and Plan Your Ramp
Measuring is the first step in building a ramp. You need to know the height difference and the available space. We found that a simple tape measure and a calculator are all you need. The formula is simple: ramp length = height x 20. This ensures you get the right slope.
Planning is also important. Consider the traffic flow and who will use the ramp. Will it be for wheelchairs, carts, or pedestrians? The design should match the intended use. We found that taking the time to plan can prevent costly mistakes.
Calculating the Required Length
To calculate the ramp length, measure the vertical height in inches. Then, multiply that number by 20. For example, a 5-inch step requires a 100-inch ramp. This is the horizontal length of the ramp. It is important to include the entire length, including any landings. We found that adding a landing at the top and bottom can improve safety and comfort.
Example Calculation
Let’s say you need to ramp a 3-inch step. Multiply 3 by 20, and you get 60 inches. That is 5 feet long. This is a manageable size for a quick fix. If the step is higher, the ramp will be longer. Always double-check your measurements to avoid errors.
Common Mistakes to Avoid
When building a ramp, there are a few common mistakes to avoid. One is making the ramp too steep. If the slope is steeper than 1:20, it can be unsafe for wheelchairs. Another mistake is not using a non-slip surface. This can lead to falls, especially in wet conditions. We found that many accidents happen because of poor planning or rushed construction.
Also, do not forget to secure the ramp properly. A loose ramp can shift and cause injuries. It is important to check the ramp regularly and make adjustments as needed. A little attention to detail can prevent big problems later on.
Overlooking Safety Features
Safety features like handrails and edge guards are often overlooked. They are essential for preventing falls and ensuring the ramp is safe for everyone. We found that adding these features can make a ramp more user-friendly. Always consider the needs of the people who will use the ramp.
Checklist for Your 1 to 20 Ramp Project
Before you start building, use this checklist to ensure you have everything covered. It will help you stay organized and avoid mistakes.
- Measure the
Conclusion
Understanding the 1 to 20 ramp slope gives you a simple, effective way to boost accessibility and safety. We found this gentle incline is ideal for wheelchair access, ADA compliance, and everyday paths. It works for both permanent installations and quick temporary fixes. The key is accurate measurement and using the right materials for your project. Your next step is to measure your height difference and plan your ramp. Start building with confidence, knowing you are creating a safer space for everyone.
Frequently Asked Questions
What is the main difference between a 1:20 and 1:12 ramp slope?
A 1:20 slope is gentler than a 1:12 slope. For every inch of height, a 1:20 ramp extends 20 inches horizontally, while a 1:12 ramp extends only 12 inches. We found this makes the 1:20 ramp easier and safer to use, especially for wheelchairs.
Can I build a 1:20 ramp for my home without professional help?
Yes, you can build a simple 1:20 ramp yourself using wood or metal. We found that with basic tools and careful measurements, it is a manageable weekend project. Just ensure you use non-slip surfaces and follow the safety tips covered.
How do I ensure my 1:20 ramp meets ADA guidelines?
While the ADA recommends a maximum of 1:12, a 1:20 slope exceeds this, so it is generally compliant. We found that adding features like handrails and proper landings helps meet all requirements. Always check your local building codes for specific rules.
What materials are best for a temporary 1:20 ramp?
For temporary ramps, wood and metal are common choices. We found that modular metal ramps are quick to set up and remove for events. Wood is also easy to work with for short-term needs like festivals or construction sites.
How do I calculate the length of a 1:20 ramp I need?
To calculate, measure the height in inches and multiply by 20. For example, a 4-inch step needs an 80-inch ramp. We found that double-checking your measurements prevents mistakes and ensures the correct slope.