What Tool Do You Use to Measure Ramp Slope? The Details
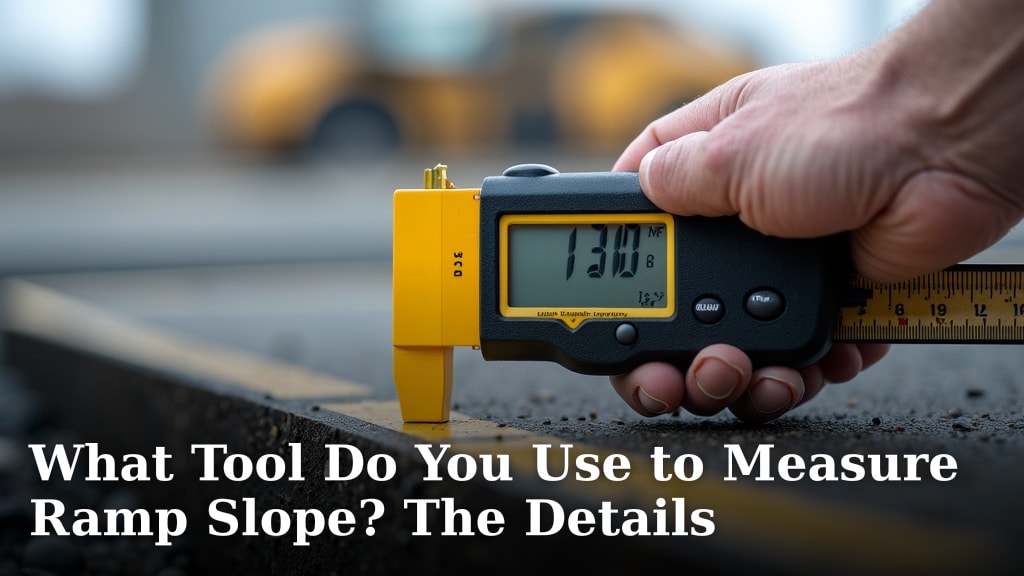
Measuring Ramp Slope: The Right Tools for the Job
To measure ramp slope accurately, you can use a basic carpenter’s level or a digital inclinometer. These simple tools provide the precision needed for safety and compliance. Getting the slope right isn’t just a technicality—it’s about creating safe access for everyone.
Understanding Slope Basics
Slope is the steepness of your ramp, often shown as a ratio. A common example is 1:12, meaning for every 12 inches of horizontal distance, the ramp rises 1 inch. This ratio helps you understand how gentle or steep the incline is.
Why does this matter? A slope that’s too steep can be dangerous. We found that many ramp-related injuries come from incorrect slopes. Keeping it within guidelines ensures smooth and secure movement.
Why Accurate Measurement Matters
Accurate slope measurement isn’t just about following rules. It’s about preventing falls and making spaces accessible. According to the CDC, falls are a leading cause of injury among older adults, so proper ramp design is critical.
Think of it like baking a cake—measure wrong, and the whole thing falls apart. Similarly, if your ramp slope is off, it could lead to accidents or legal issues. Getting it right the first time saves you headaches later.
Common Tools for Measuring Ramp Slope
Several tools can help you measure slope, each with its own pros and cons. You don’t need expensive gear; many household items work great. Let’s explore the options so you can choose what fits your needs.
Manual Tools: Levels and Protractors
Manual tools are affordable and easy to find. They’re perfect for quick checks or DIY projects. If you’re on a budget, these are your go-to choices.
Using a Carpenter’s Level
A carpenter’s level is a classic tool for checking slope. Place it on the ramp surface, and the bubble tells you if it’s level. To measure slope, you can use it with a ruler to calculate the rise over run.
Here’s a simple method: Place the level horizontally, then measure the vertical gap at one end. This gives you the rise. Combine it with the horizontal length to find the slope ratio. It’s a hands-on approach that works well for most ramps.
How a Protractor Helps
A protractor measures angles in degrees. Some ramps use angle measurements instead of ratios. By placing the protractor on the ramp, you can read the angle directly. Converting degrees to slope ratios is straightforward with a quick reference chart.
This tool is especially handy for precise projects. We found that pros often use protractors for custom ramps where angles matter. Just make sure it’s securely placed to avoid slipping.
Digital Tools: Apps and Inclinometers
Digital tools offer convenience and accuracy. They’re great if you want quick readings without manual calculations. Many smartphone apps can even turn your phone into a slope meter.
Smartphone Apps
Apps like Slope Meter or Clinometer use your phone’s sensors to measure slope. Download one, calibrate it as per instructions, and you’re set. These apps are free or low-cost, making them accessible for everyone.
Just remember, apps rely on your phone’s hardware, so accuracy can vary. We recommend checking against a manual tool to ensure reliability. It’s like using a GPS—helpful, but always have a backup plan.
Digital Inclinometers
A digital inclinometer is a dedicated device for measuring angles. It’s more precise than phone apps and often used in professional settings. You place it on the ramp, and it displays the slope in degrees or ratios.
These tools are durable and designed for repeated use. If you’re building multiple ramps or need high accuracy, investing in one makes sense. Think of it as a kitchen scale for baking—essential for consistent results.
Step-by-Step: How to Measure Your Ramp Slope
Ready to take measurements? Follow these steps for accurate results. Start with preparation, then move to the actual measuring process. Taking it slow ensures you don’t miss anything.
Gathering Your Tools
Before you begin, collect your chosen tool—whether it’s a level, protractor, or digital device. Also, grab a tape measure for calculating distances. Having everything handy prevents mid-measure interruptions.
Check your tool’s condition. A dusty level or low battery in a digital device can throw off readings. A quick inspection saves time and ensures accuracy from the start.
Taking Accurate Readings
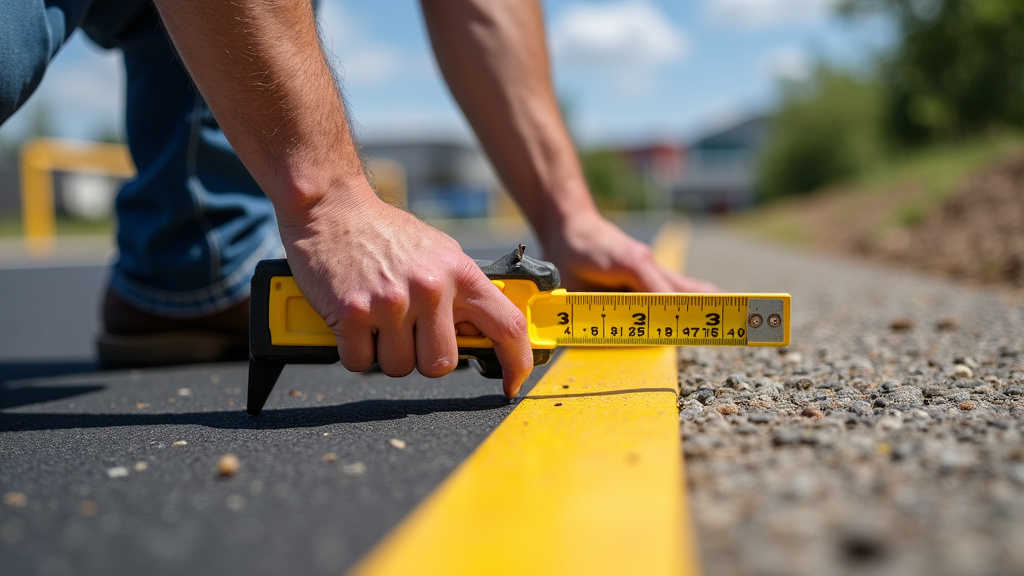
Place your tool on the ramp’s surface. For manual tools, ensure it’s stable and level. For digital ones, calibrate if needed. Measure the horizontal distance first—the “run” of the slope.
Next, measure the vertical rise. Use your tape measure from the ground to the ramp’s surface at the highest point. Divide the rise by the run to get the slope ratio. For example, a 6-inch rise over 72 inches is a 1:12 slope.
Double-check your measurements. Human error happens, so repeating the process confirms your numbers. It’s like checking your work on a test—a little extra effort pays off.
Safety Guidelines and Standards
Measuring slope isn’t just about getting numbers—it’s about following safety standards. These guidelines protect users and keep you compliant with laws. Ignoring them can lead to accidents or fines.
ADA Requirements for Ramps
The Americans with Disabilities Act (ADA) sets clear rules for ramp slopes. The maximum slope allowed is 1:12, with a preferred slope of 1:16 for easier access. These standards ensure ramps are usable for people with mobility devices.
We found that many local building codes also follow ADA guidelines. Checking with your local authority
Conclusion
Measuring ramp slope correctly comes down to choosing the right tool and following careful steps. We’ve covered how simple manual tools like a carpenter’s level work well, and how digital inclinometers offer extra precision. Remember, the goal isn’t just a number—it’s creating a safe, accessible ramp that meets key standards like the ADA’s 1:12 guideline.
You now have the knowledge to avoid common mistakes that lead to falls or legal trouble. Your next step is clear: pick a tool that fits your budget and project, and take that first measurement. Getting the slope right from the start makes all the difference for safety and peace of mind.
Frequently Asked Questions
Can I just use a phone app instead of buying a tool?
Yes, smartphone apps like Slope Meter can work for a quick, initial check. However, we recommend double-checking their reading with a manual tool for critical projects. Phone sensors vary, and a physical level provides a reliable backup to ensure your ramp is truly safe.
How do I convert degrees from a protractor into a slope ratio like 1:12?
You can use a simple conversion chart or an online calculator. For example, a slope of 1:12 is approximately equal to a 4.76-degree angle. Having a quick reference handy when you measure makes this step straightforward and ensures your calculations are correct.
My ramp is already built, and I’m worried the slope is off. What should I do?
Use your tool to measure the existing slope as the first step. If it exceeds the 1:12 maximum, consult with a professional about modification options. Safety is the priority, and there may be ways to extend the ramp’s length or add a landing to reduce the steepness.
What’s the biggest mistake people make when measuring for a new ramp?
A common error is measuring the diagonal surface length instead of the true horizontal run. Always measure the flat, ground-level distance from the start to the end of the ramp (the run) and the vertical height (the rise) separately. This gives you the accurate ratio for safety.
Does the measurement method change for a curved ramp?
Measuring a curved ramp is more complex and often requires professional assessment. The principle of rise over run is applied to the overall change in height and horizontal distance. For complex curves, it’s best to consult a building professional to ensure full accessibility and safety.